 Lately, I’ve been making homemade candies. To make them look as pretty as possible, I’ve been tempering chocolate to coat the different centers, fruits or bars.
So what is tempering chocolate anyway, and why do we need to do it? The answer to that question is to develop a firm shiny shell that won’t melt quite as quickly in its handling.
Let me explain. Chocolate is composed of lots of different little crystals (six to be exact) but the desirable ones are called beta crystals. The development and formation of these beta crystals are what makes well tempered chocolate pretty and firm. Many times we will see where the cocoa butter has risen to the surface. Some may think this indicates the chocolate isn’t good and will throw it away. If we do that we have tossed out perfectly good chocolate. It just doesn’t look very pretty. When we see white streaks or blotches on the surface of the chocolate that only indicates the chocolate hasn’t been properly tempered. When cocoa fat has risen to the surface giving it that appearance, this is referred to as a “bloom” or “blooming.” The chocolates taste fine, it just doesn’t look very appealing and not as attractive as we would like.
 Most chocolate we purchase has been tempered. It has a firm shiny shell like surface and will snap when we break it. So when you buy chocolate for baking, it should already be well tempered. If, for some reason, the chocolate has been heated or melted it will lose its temper and have a white and gray blotchy appearance on the surface and often melts instantly when handled. The heat and re-melting will cause any chocolate to do that. Fear not, it just needs to be re-tempered to regain its beauty and firm shiny shell like surface.
If you plan to use chocolate as a coating and don’t want the blooming and instant melting affect, to prevent these things, once you’ve melted it you’ll need to re-temper the chocolate for dipping .
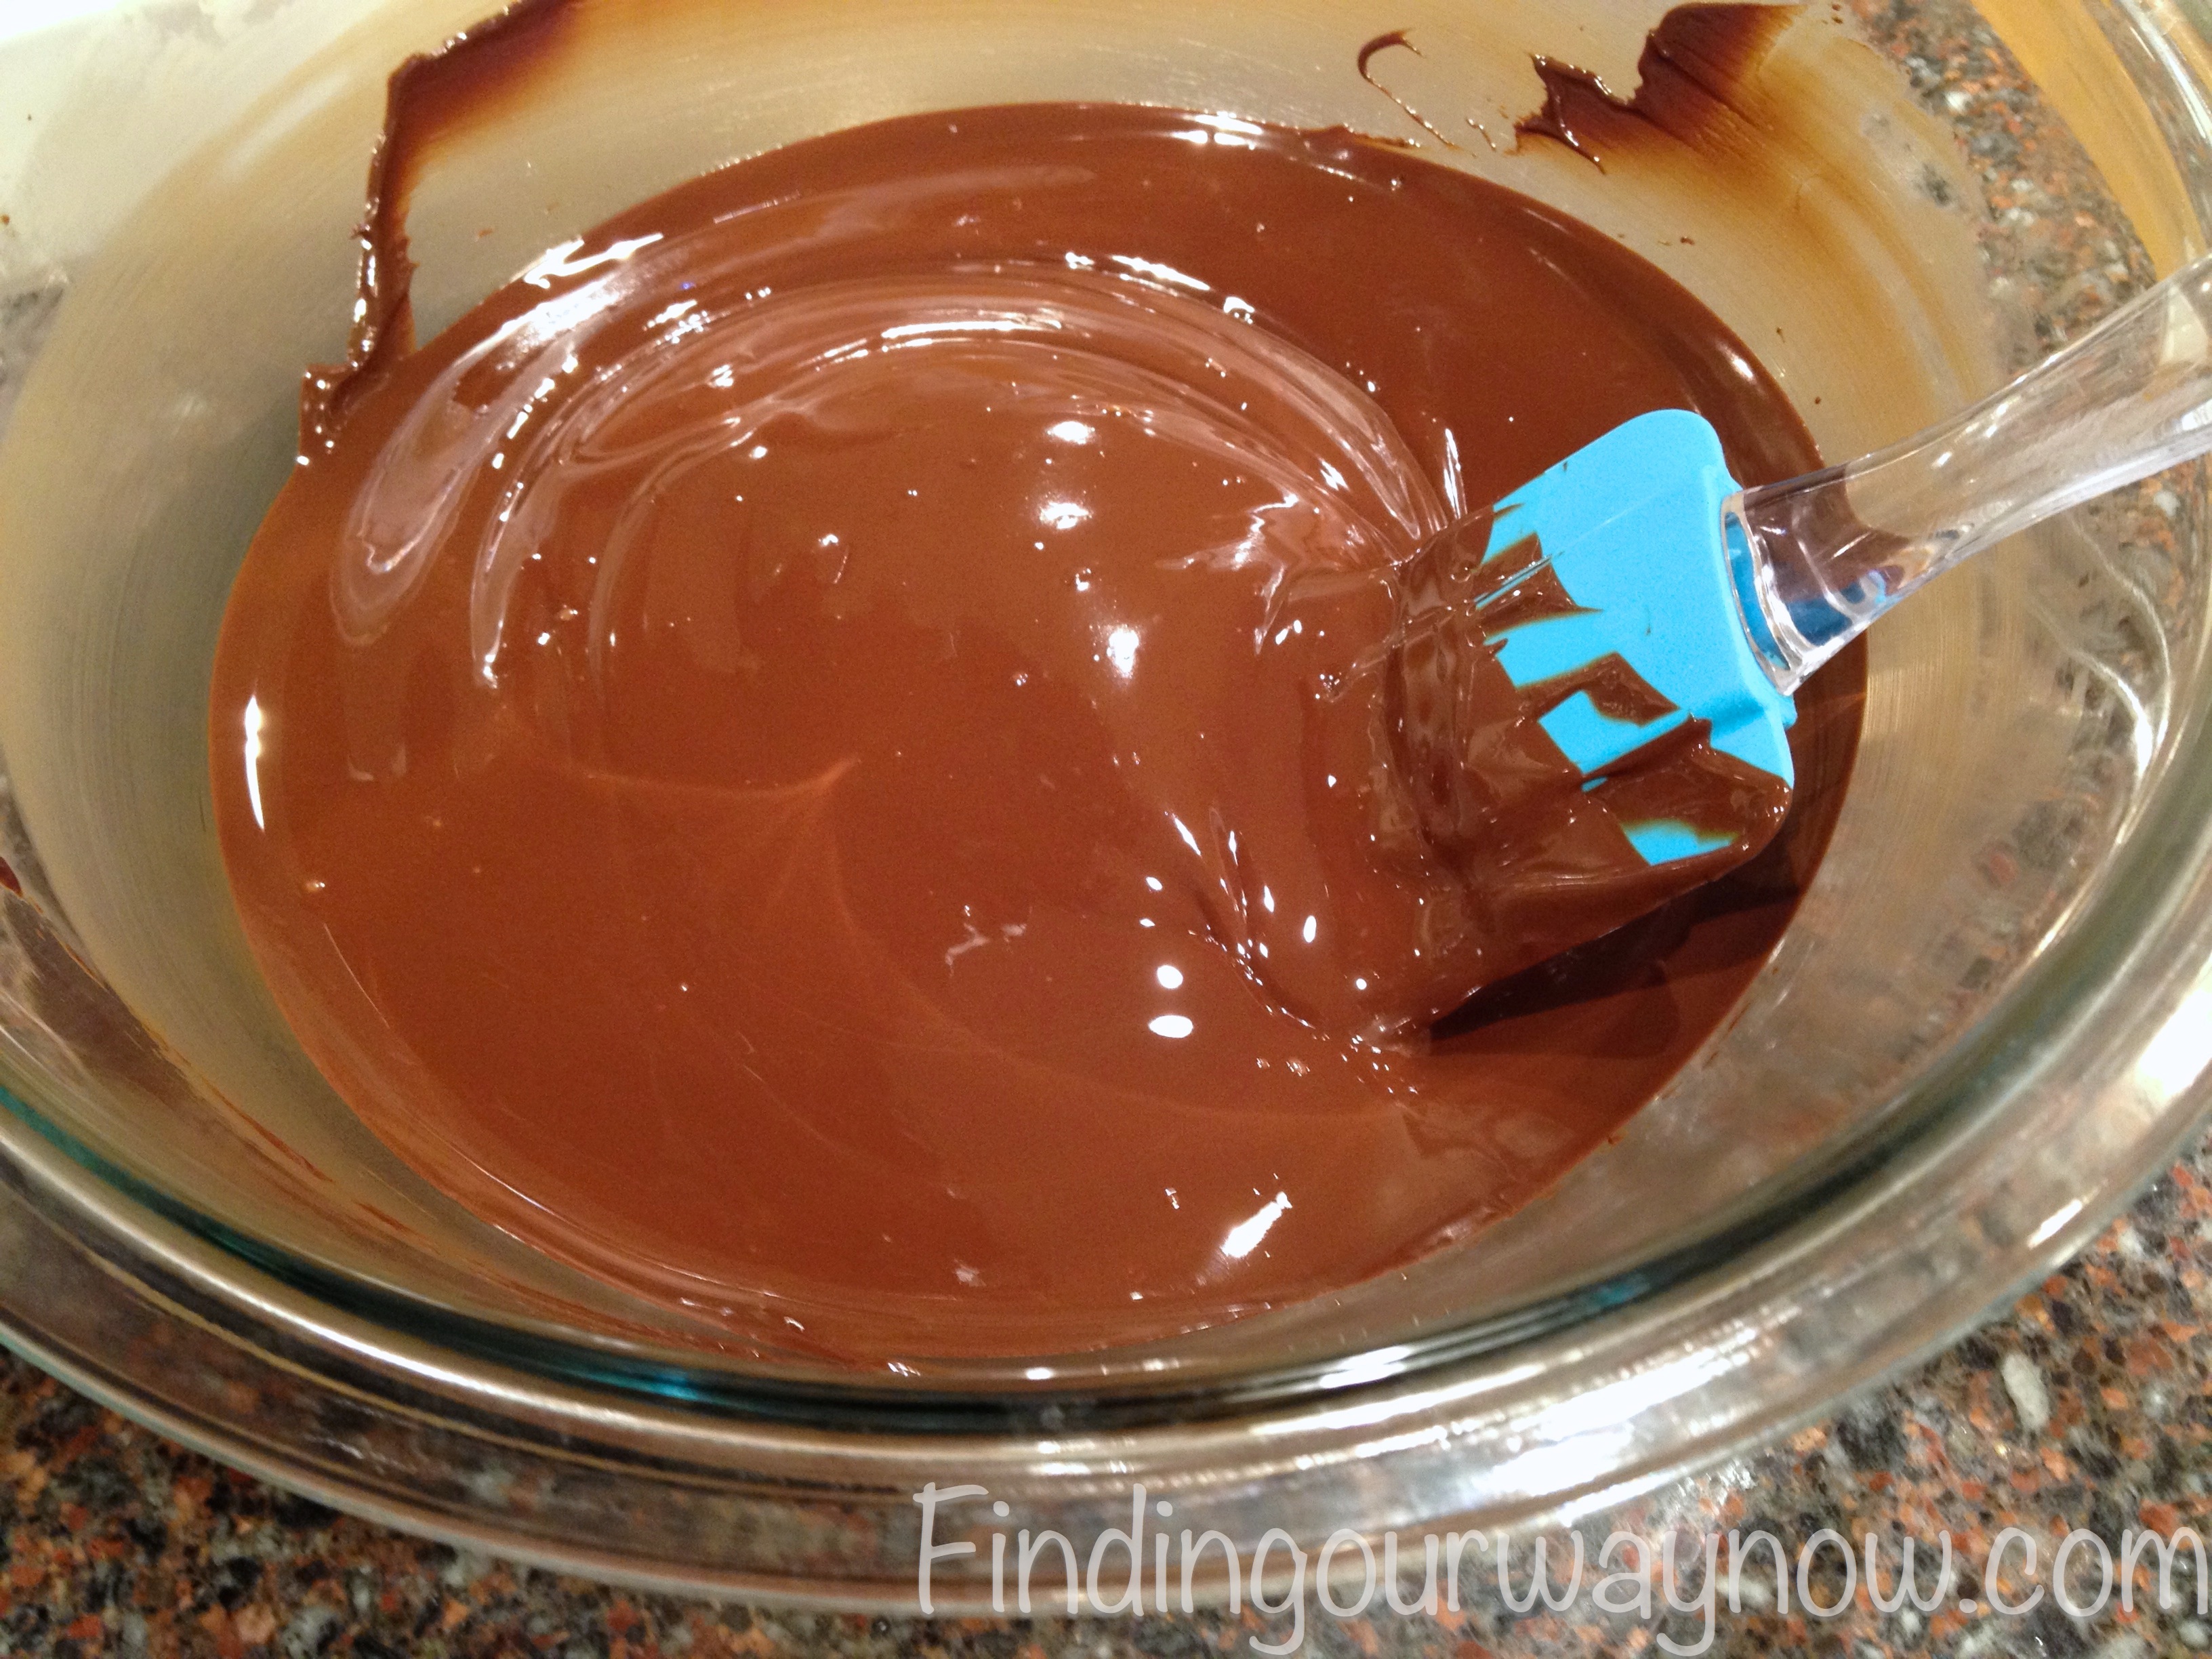
It may seem like a lot of work, but it really isn’t. It just takes a bit of patience. The best part is the tempering will develop that nice firm shiny shell and it won’t melt quite as quickly in your hand.
So there you have it, the long and short of tempering chocolate. All these are the reasons why I do what I do to make my candies look and handle they way they do.
Tempering Chocolate
Equipment:
- Double boiler (or use a clean, dry bowl over a pot of water)
- Thermometer (Laser or a good Thermapen type thermometer are recommended)
- Dipping tools
- Sheet pan lined with parchment
- Parchment sheets
Ingredients:
- Good quality chocolate (dark or milk)
Tempering Chocolate Directions:
- Chop the desired amount of chocolate you wish to use. Reserve 1/3 of the chopped chocolate for later use.
- With a good laser or candy laser thermometer handy, the first step is to melt 2/3’s of the chopped chocolate in a double boiler (or use a clean, dry bowl over a pot of water) and bring the water up to just under a simmering (medium low heat). Bring the chocolate up to the melting temperature (See chart below).
- Turn of the heat and remove the melted chocolate from the double boiler and let it cool to the crystallization temperature (See chart below).
- Once the correct crystallization temperature has occurred, add the remaining chocolate, pushing it below the surface of the melted chocolate. While cooling, stir frequently. This motion will result in good crystallization (aka, tempering).
- The last step is the most important. Once the chocolate has reached the right crystallization temperature, turn on the heat to the double boiler (check the water level and add more if needed). Place the cooled chocolate back on the double boiler, stirring occasionally; slowly bring the chocolate up to the perfect or working temperature (See chart below).
- The chocolate is now dip-worthy. You can dip all the chocolates you want and all will be perfectly tempered.
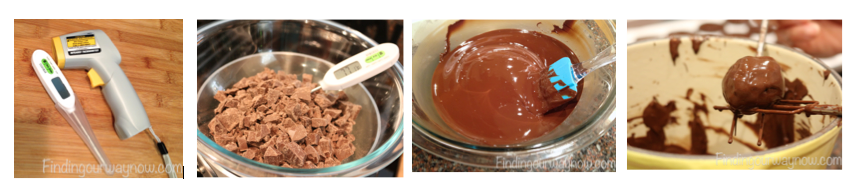

Notes: The water should NOT touch the bottom of the double boiler part of the pan or bowl. The steam will gently heat the bottom of the pan or bowl melting the chocolate. The quality of the chocolate you use matters. It makes a big difference in the taste of the final product. Use your thermometer often. Never leave it to happenstance; I’ve made that mistake and had to start over. Once the chocolate is tempered, don’t let the chocolate rise above 91° F (32ºC) or you’ll need to begin the process all over again. If the chocolate drops below the temperature, gently re-warm it back up to the working/tempered temperature and continue dipping.
When you’re making anything chocolate and want to keep its pretty appearance and where it’s less likely to melt, tempering chocolate is the only way to go. What do you think?
Time to eat and make some homemade candies…
If you enjoyed “Tempering Chocolate”, check out Chocolate Cherry Mice, Chocolate Dipped Spoons and Homemade Candy.