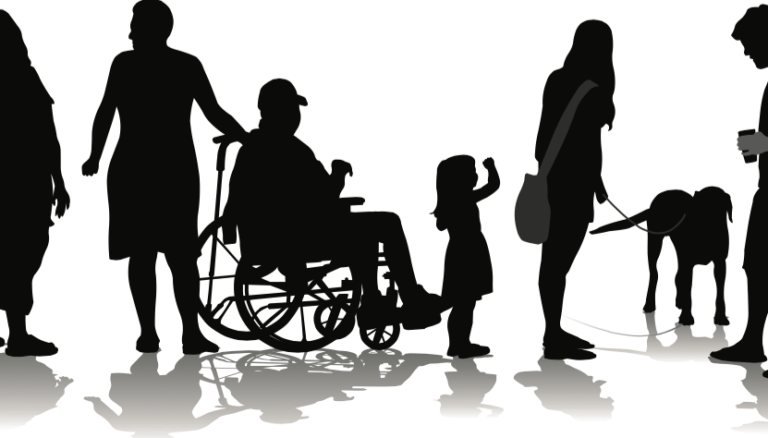
70% of Americans will have either a temporary or permanent disability at some point in their lifetimes — in 2015 alone, people with disabilities accounted for 12% of the US population. Whether you’re hosting an outdoor camping festival or a conference for professional networking, event accessibility should be top-of-mind for you and your team.
The merits of a highly accessible event are probably obvious. You’ll foster a spirit of inclusivity, you’ll build positive associations with your brand, and you’ll put your event’s most valuable asset — your attendees — first.
What’s less obvious is how to create an accessible event. This process starts with your event listing (this blog posthas the full breakdown on creating accessible events listings). Here are few ideas for making your event space more accessible — to everyone:
Set aside enough space.
If your event involves a stage or viewing area, start by reserving seats/areas for people who are using wheelchairs, are hard of hearing, have visual disabilities, will be accompanied by service animals, or need seating if your attendees will otherwise be standing. Provide enough room for friends and companions — people shouldn’t have to sit or watch separately from their parties. These reserved seats should have excellent sight lines to the main attraction — this may mean placing reserved areas in the front or sides of the audience. Note: the ADA prohibits venues from charging higher prices for more accessible areas.
Use your words.
Your team should be prepared and ready to help your attendees with accessibility needs — they’ll need training, along with their good intentions. Remind your staff that they should never touch guest without consent, even if the guest seems to need assistance. Instead, train your team to always ask guests if they need help.
Use accessible signage.
Err of the side of too much signage. As long as it’s not blocking the view or the path, what’s the harm in knowing too well how to get to the restroom or exit? Use large, legible typefaces, and place signage at multiple heights. If your venue has ledges or steep inclines that could present problems, be sure to mark them with obvious signs.
Create clear pathways.
Easily navigable paths require more than signs and ramps. Pay attention to the amount of space between tables/booths — can a wheelchair or stroller get between objects as easily as a walking person? Check for moveable obstacles like trash cans, signs, wires, cables, and sharp objects that could puncture a tire. The ADA requires aisles and corridors be at least 36 inches wide, except at doors, where 32 inches is acceptable. And at least every 200 feet, there must be a minimum 60-by-60-inch space where two wheelchairs can pass.
Here are a few other guidelines and recommendations the ADA National Network, an educational network funded by the National Institute on Disability, Independent Living, and Rehabilitation Research (NIDILRR):
- Install ramps
- Position shelves so they’re reachable
- Add raised markings on elevator control buttons
- Install flashing alarm lights
- Widen doors/install offset hinges to widen doorways
- Provide alternative path other than turnstiles
- Install grab bars in toilet stalls, raised toilet seats and lower bathroom mirrors
- Insulate lavatory pipes under sinks to prevent burns
- Create designated accessible parking spaces
- Remove high-pile, low-density carpeting that makes maneuvering wheelchairs difficult
Want to learn more about accessibility best practices, guidelines, and rules? Check out our complete guide to event accessibility: “How to Create a More Accessible Event.”